Install#
Windows#
Run the installer .exe file, accepting the default options. Doing so will
install HyperSpy into the folder you choose under a subfolder named
hyperspy-bundle.
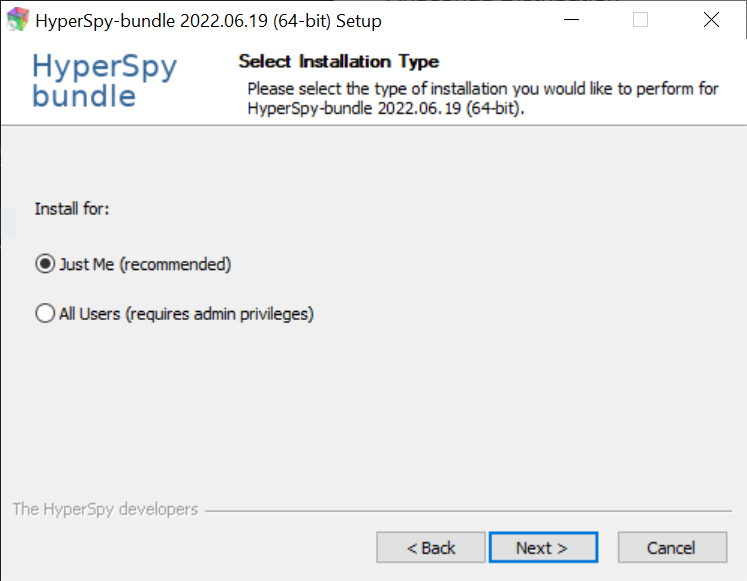
A screenshot of the installation type selection. It is recommended to install for single user only (Just Me) to avoid permission issues when using python.#
Note
For more details, for example on multi-users installation, read the Anaconda installation instructions.
In the advanced installation options section, you can choose whether you want to create the start menu and the context menu (right-click) shortcuts.
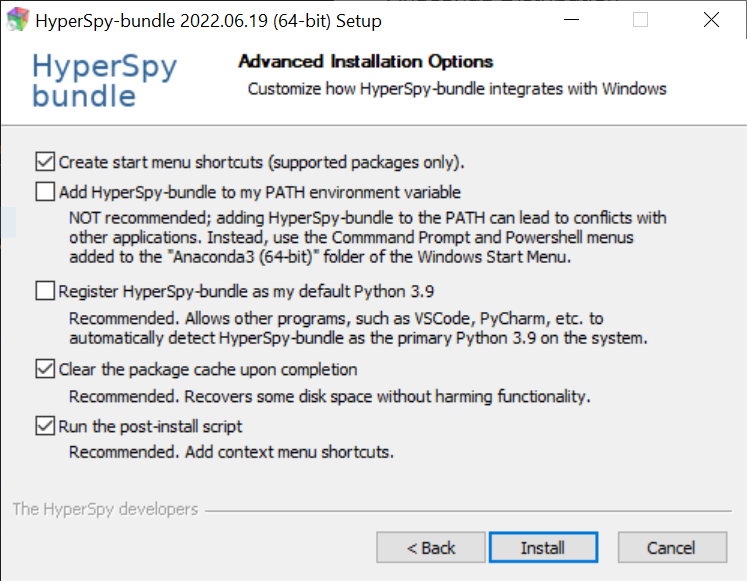
The advanced installation options section, where you can choose to install start menu and context menu shortcuts.#
Depending on your system, the installation may take quite some time (especially on the “Setting up the package cache…” and “Setting up the base environment…” steps), but you should get a progress window that looks like:
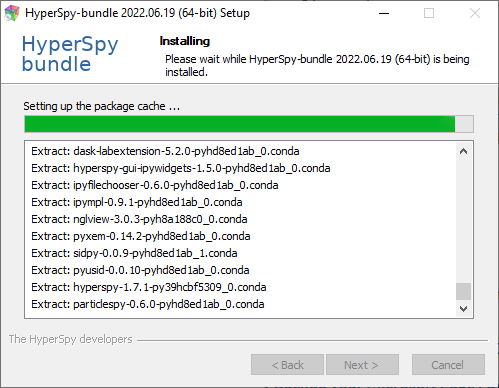
A screenshot during the bundle installation process.#
And that’s it! All the installed programs should now be installed and the distribution should be available from the terminal, the context menu or the start menu (Usage).
Silent installation on Windows#
Using the command prompt:
$ start /wait "" HyperSpy-bundle-2020.02.05-Windows-x86_64.exe /S /D=%UserProfile%\HyperSpy-bundle
Using PowerShell:
$ Start-Process -Wait -FilePath HyperSpy-bundle-2020.02.05-Windows-x86_64.exe -ArgumentList /S /D=$env:UserProfile\HyperSpy-bundle
See the Anaconda documentation for more information on usage and more optional parameters.
MacOS#
Run the downloaded file to proceed with the installation. This installer is
currently not identified as trusted party by macOS, meaning that macOS will
not allow to run the installer simply by double-clicking on it. However,
control-clicking the app icon, then choosing Open from the shortcut menu
will allow to run the installer, as explained in the
macOS documentation.
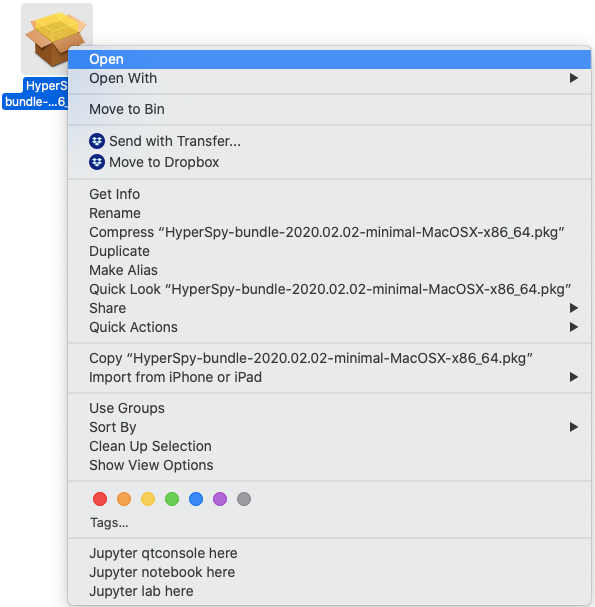
To open the installer, control-click the installer icon and choose Open from the shortcut menu.#
The rest of the process is fairly straightforward. For the installation
location, we highly recommend to select Install for me only:

Single user installation is recommended.#
And that’s it! All the installed programs should now be installed and the distribution should be available from the terminal or from the context menu (Usage).
Linux#
The process is exactly the same as installing Anaconda or Miniforge:
In your terminal window, run:
bash HyperSpy-bundle-YYYY.MM.DD-Linux-x86_64.shFollow the prompts on the installer screens. If you are unsure about any setting, accept the defaults. You can change them later.
To make the changes take effect, close and then re-open your terminal window.
Test your installation. In your terminal window, run the command
conda list. A list of installed packages appears if it has been installed correctly.
Note
If you choose to initialize conda during the installation, the base
environment of the distribution will be activated in the terminal startup.
The auto-activation can be enabled or disabled using the
conda init
command.
To enable conda activation at terminal startup:
$ conda init
To disable conda activation at terminal startup:
$ conda init --reverse
And that’s it! All the installed programs should now be installed and the distribution should be available from the terminal or from the context menu (Usage).